

Finger Strength Training for Beginners: A Safe Start
Quick Summary
Finger strength training is a slow, progressive way to build the grip that climbing progress depends on. Beginners should first climb consistently for two to three months, then train two times a week on large edges using open hand or half crimp, with a deload week included.
- Check readiness first: climb consistently for two to three months and have no current finger, wrist or elbow injury.
- Use open hand or half crimp on large edges, and avoid full crimp until your fingers have a solid base.
- Start with 7 second hangs, two sets of three hangs, and two minutes rest between hangs.
- Rest at least 48 hours between finger sessions, and stop if you have sharp pain or swelling.
Table of Contents
- Why Finger Strength Matters for Climbing
- Check Your Readiness Before You Hang
- Choosing Your Training Method: Hangboard, Pinch Work or Climbing
- A Step-by-Step Beginner Finger Strength Plan
- How Often to Train Finger Strength and How to Progress
- Preventing Finger Injuries and Knowing When to Stop
- Start Your First Four-Week Block With the Right Gear
- Frequently Asked Questions
Why Finger Strength Matters for Climbing
Last Updated: November 19, 2026
Finger strength training is the foundation that most climbing progress is built on.
Stronger fingers let you hang on small holds longer, try harder moves, and recover between attempts.
- Hold small edges: Better grip lets you use smaller holds without slipping.
- Stay on the wall longer: Stronger fingers tire more slowly on a route.
- Try harder problems: Many hard moves depend on one or two fingers on a tiny hold.
There is a catch. Finger tendons adapt much more slowly than muscles.
Finger strength matters, but how you build it matters more. A steady, progressive approach gives you the gains without the setbacks.
Check Your Readiness Before You Hang
Before you start any finger training, check that you are ready. Many beginners jump onto a hangboard the first week they buy one, which can cause pain lasting far longer than the training itself.
You are a good candidate for beginner finger training if you can say yes to most of these:
- You have climbed consistently for at least two to three months.
- You can complete your usual climbing sessions without finger pain.
- You have no current finger, wrist, or elbow injury.
If you answer no to any of these, wait. Spend more time climbing with good technique, and let any ongoing pain settle first.
What to Do If You Fail a Specific Item
- Failed the climbing-history item: keep climbing two to three times a week for another four to six weeks. Climbing itself is the best beginner finger stimulus, and it is self-limiting because you can let go.
- Failed the pain-free-session item: do not train fingers. Climb only on easy terrain, avoid crimpy problems, and reassess weekly. If pain is sharp or lasts more than a day or two after climbing, see a qualified health professional before returning to load.
- Failed the 10-second jug hang: build a base with feet-supported hangs on a large edge, or with a pull-up bar, for three to four weeks before starting the plan.
Scaling for Bodyweight, Age, Hand Size and Prior Injury
- Higher bodyweight: start with feet on the floor and take only part of your weight through your hands. Progress by shifting weight gradually rather than by adding hangs.
- Older beginners or those with a long training gap: extend the introduction phase from two weeks to four, and keep the deload week. Tendon adaptation is slower than muscle adaptation at any age, and more so after a long layoff.
- Small hands: a 20mm edge may already be a half crimp for you. Choose the largest edge on your board and judge difficulty by how your joints sit, not by the millimetre number.
- Prior finger injury: use open hand only, keep feet supported, and get clearance before any half crimp loading. A history of pulley pain is the single strongest reason to delay hangboarding.
Stop Rules: When to Back Off and When to Seek Assessment
Set these rules before your first session, so you are not deciding while your fingers hurt.
- Stop the session if you feel sharp pain during a hang, if a finger swells, or if you cannot make a fist comfortably afterwards.
- Back off for one week if pain lingers more than 24-48 hours after a session, or if everyday tasks like gripping a cup or opening a jar become uncomfortable.
- Seek professional assessment if pain persists beyond two weeks of reduced load, if you heard or felt a pop, or if you cannot bear weight through the finger at all.
Watch out: soreness that fades within a day is normal adaptation; soreness still there at the next session is a load problem.
Choosing Your Training Method: Hangboard, Pinch Work or Climbing
There are several ways to build finger strength.
Hangboard training is the most direct option. If you want one that avoids nails, see the no-nail hangboard option for a space-saving choice.
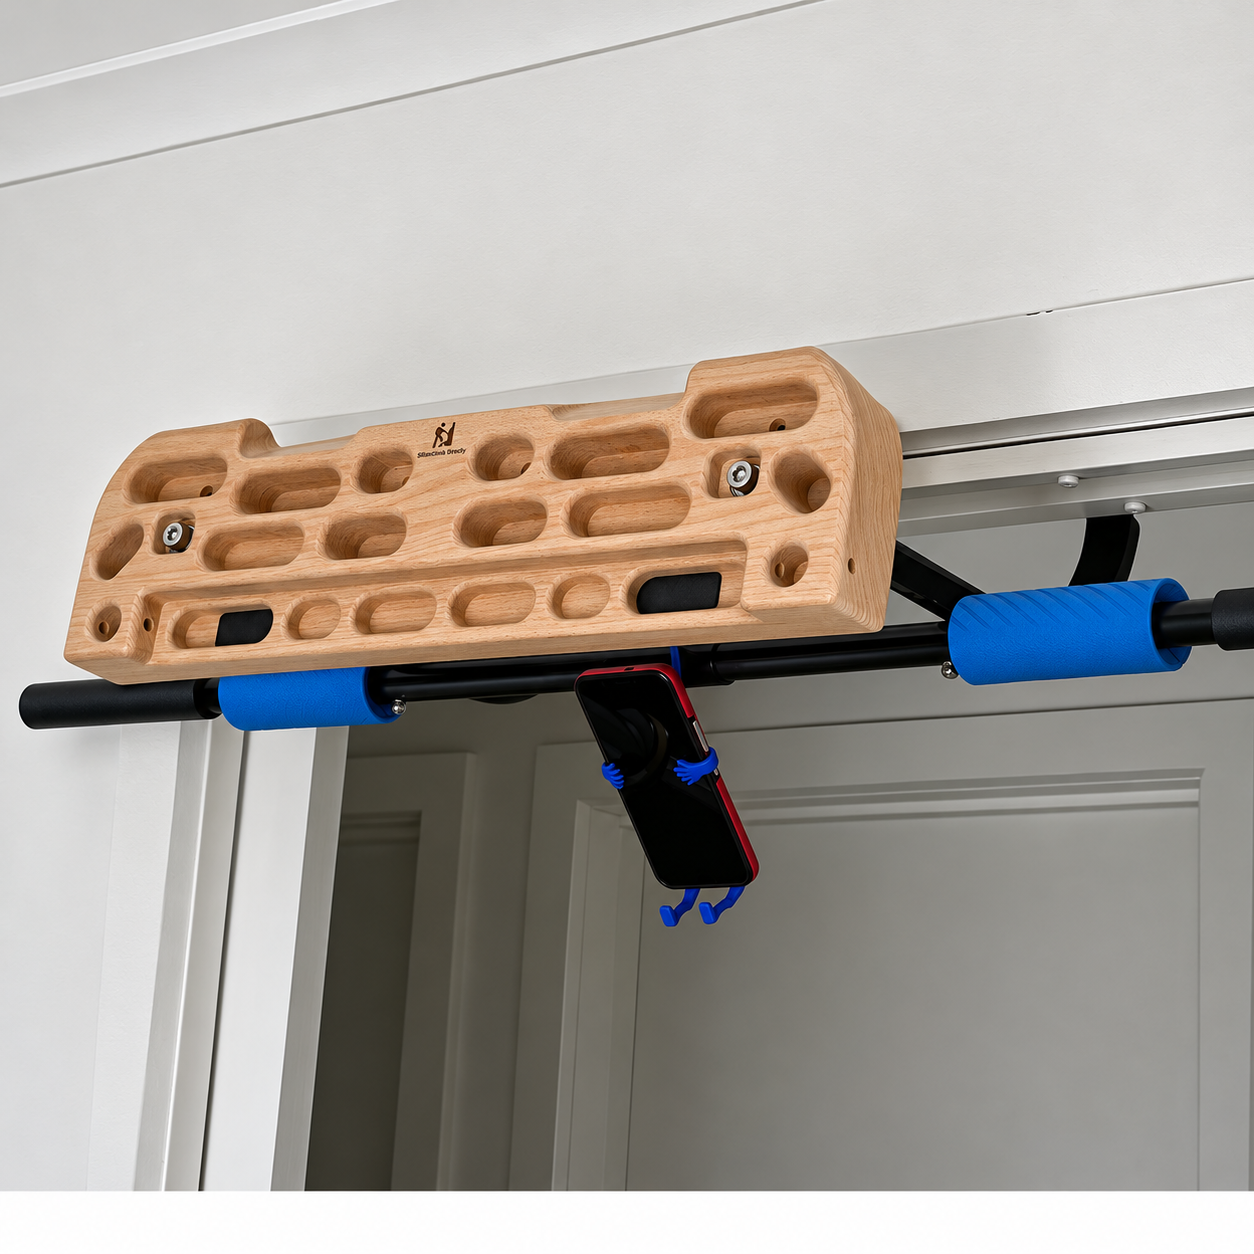
Pinch work targets a different set of muscles. Pinch strength uses the thumb, which a hangboard does not fully train.
Climbing itself is the most natural form of training, but the load is hard to control and easy to overdo on hard problems.
For most beginners, a mix works best: climb two or three times a week, then add one or two short finger sessions.
Grip Positions: Open Hand, Half Crimp and Full Crimp
Grip position changes how much load goes through your fingers. Knowing the three main positions helps you choose safe holds.
- Open hand: Your fingers are straight and relaxed. This is the safest grip and puts the least strain on the pulleys. Use it on jugs and large holds.
- Half crimp: Your finger joints bend but the top joint stays straight. This is the most common grip on climbing holds, and it puts a lot of load on the pulleys.
- Full crimp: All finger joints bend sharply. It is the most powerful grip for tiny edges but also the highest risk for injury.
Beginners should avoid full crimp until their fingers have built a solid base. Start with open hand and half crimp on larger edges.
Non-Hangboard Alternatives
You do not need a hangboard to build finger strength. Several cheaper options work well for beginners.
- Silicone grip trainers: These build grip strength and are useful as a warm-up. Our [PAGE:silicone hand and finger grip strengthener] comes in three tension levels.
- Wooden hand grips: These let you train pinch and grip strength with simple hangs or squeezes. The [PAGE:wooden hand grips for pinch and grip strength] are portable.
- Pull-up bar training: Doing pull-ups or dead hangs from a bar builds grip and forearm endurance without extra equipment.
These options suit climbers who want a lower-intensity start, or those without space for a full hangboard.
A Step-by-Step Beginner Finger Strength Plan
This eight-week plan assumes two finger sessions per week alongside normal climbing, and builds in a deload so you are not guessing when to back off.
Before you start, gather your gear: a hangboard or similar tool, a timer, a towel for chalk, and a notebook or app for tracking.
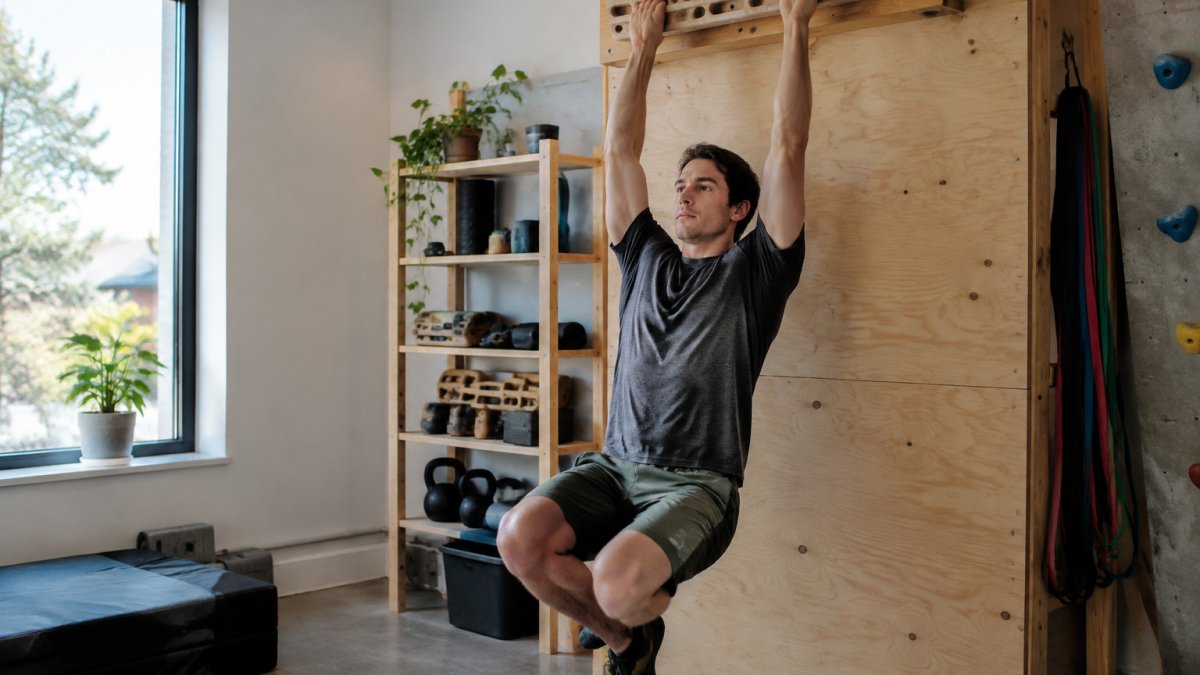
Warm-Up and Edge Selection
A proper warm-up prepares your fingers and tendons for load. Skip it and you raise your injury risk.
- Climb easy problems for 10 to 15 minutes.
- Do light hangs from large jugs for 30 seconds each.
- Squeeze a silicone grip trainer or do gentle wrist and finger stretches.
Choose your edges carefully. Start with the largest edges on your board, usually 20mm or deeper. These are easiest on your tendons. Move to smaller edges only when the larger ones feel easy across two consecutive sessions with no next-day soreness.
The Eight-Week Beginner Block
Use open hand or half crimp only for the whole block. Keep your body still, and stop any hang the moment your form breaks down.
- Weeks 1-2 (introduction): Two sessions per week. Three hangs per set, two sets per session, 7 seconds per hang, 2 minutes rest between hangs. Use the largest edge available (20mm or deeper). Feet stay on the floor or a chair so you can unload weight at any point.
- Weeks 3-4 (build): Two sessions per week. Add one hang per set (four hangs), keep two sets and 7 seconds. Same edge. If the last hang of a set feels shaky, drop back to three hangs for that session.
- Week 5 (deload): One session only. Two sets of three hangs at 7 seconds on the largest edge. This is not lost training, it is where tendons consolidate.
- Weeks 6-7 (progress): Two sessions per week. Three sets of four hangs at 7-10 seconds. Move to a slightly smaller edge (around 18mm) only if weeks 1-5 were pain-free and the last hang of each set felt controlled.
Add one variable at a time, hangs, seconds, or a smaller edge, never two in the same week.
Watch out: the most frequent mistake is treating week 6 as permission to jump to a 10mm edge.
Hang Duration, Sets and Rest Intervals
- Hang duration: 7 seconds in weeks 1-5, building to 7-10 seconds in weeks 6-7.
- Rest between hangs: 2 minutes.
- Rest between sets: 3 minutes.
- Sets per session: 2 in weeks 1-5, up to 3 in weeks 6-7.
How to Measure Progress and What to Change When It Stalls
Pick one repeatable test and run it at the start of week 1 and the end of week 8, on a fresh day with no climbing beforehand.
If progress stalls or reverses, work through this order before adding anything:
- Check recovery first. Poor sleep, a hard week at work, or a cold will flatten a test result. Repeat the test after three easy days before changing the plan.
- Check technique. If your shoulders shrug, your elbows bend, or your wrist rolls, you are testing technique, not finger strength. Film one set on your phone.
- Reduce, don't add. Drop one set for two weeks. Most beginners who stall are under-recovered, not under-trained.
- Only then progress the edge. Move to a smaller edge only after two clean weeks at the current load.
Track every session: edge depth, hang time, sets, and a one-word note on how your fingers felt the next morning. This log is what tells you whether a bad session is a blip or a pattern.
How Often to Train Finger Strength and How to Progress
Most beginners do best with two finger sessions per week, spaced at least two days apart.
- Weeks 1 to 2: Two sessions per week, large edges, 7 to 10 second hangs.
- Weeks 3 to 4: Two sessions per week, add one hang per set.
- Weeks 5 to 8: Move to slightly smaller edges, keep the same structure.
Progress is not linear. Rest is part of the training, so do not skip it.
Here is a quick summary of the progression schedule for beginners.
| Phase | Sessions per week | What changes |
|---|---|---|
| Weeks 1 to 2 | Two | Large edges, 7 to 10 second hangs |
| Weeks 3 to 4 | Two | Add one hang per set |
| Weeks 5 to 8 | Two | Move to slightly smaller edges |
Preventing Finger Injuries and Knowing When to Stop
Finger injuries are the biggest risk in beginner training. The most common problems involve the pulleys, which hold the tendons close to the bones.
Watch for these warning signs:
- Sharp pain during a hang, not just muscle fatigue.
- Swelling around a finger joint.
- Pain on everyday tasks like gripping a cup or opening a jar.
- Pain that lasts more than two days after a session.
If you notice any of these, stop training and rest. Our guide to identifying, diagnosing and recovering from climbing finger injuries explains what each warning sign may mean.
Watch out: most finger injuries come from adding load too fast. Skipping a warm-up and jumping to small edges in the first week is a common cause.
Good habits reduce your risk.
Start Your First Four-Week Block With the Right Gear
Your first four-week block is where you build habits that last. The right gear makes it easier to stick with the plan.
For a complete start, the [PAGE:3 grip strength for beginners bundle] pairs a hangboard with a pinch block. It is designed to train finger strength, pinch strength, grip strength, and hanging endurance in one setup. If you want to choose equipment separately, browse the full range of [PAGE:2 hangboards].
Keep your first block simple. You can browse the hangboard collection to pick the board that fits your setup.
Next step: Set up your training space, pick your starting edges, and schedule your first session this week. Start with open hand and half crimp, keep the hangs short, and stop if anything feels wrong.
Frequently Asked Questions
How should beginners train finger strength for climbing?
Start with low-intensity hangs on large edges, two to three times a week, with at least 48 hours between sessions. Use a warm-up of easy climbing or hangs on jugs first, keep the hangs submaximal so you finish every set feeling you could have done more, and build load gradually over several weeks. Stop any set that causes sharp pain in a finger joint or tendon, and treat any pain that lingers beyond a day as a reason to reduce load.
Can beginners use a hangboard?
Yes, but only once their fingers and tendons are ready for it. Most beginners benefit from a few months of regular climbing first, so the tendons adapt gradually. When you start, use large edges, short hangs of around 7 to 10 seconds, and rest 2 to 3 minutes between sets. The Grip Strength For Beginners Bundle, which includes the Wildwood HB2001 hangboard and a pinch block, at $169.99 gives you a range of edge sizes to work through as you progress.
How often should beginners train finger strength?
Two sessions per week is a sensible starting point, with a rest day between them. Your fingers need time to recover and adapt, so training more often rarely speeds progress and raises injury risk. Once a few weeks of consistent, pain-free training have passed, you can move to three sessions per week if you feel recovered. Adjust frequency based on how your fingers feel the morning after each session.
How can beginners avoid finger injuries while training?
Warm up thoroughly, choose edges that are large enough to hang comfortably, and never train to failure while you are still building tendon strength. Avoid training when fingers are already sore, cold or fatigued from climbing. Use a half crimp rather than a full crimp, which places more stress on the pulleys. If you notice joint pain, swelling or pain that persists, reduce load and see a physiotherapist or sports doctor before continuing.
