

How to Set Climbing Holds for Beginner Footwork Drills
Quick Summary
To set climbing holds for beginner footwork drills, plan a simple grid first, then bolt the largest footholds lowest and space each row about one arm span apart. Angle every foothold so its flat surface faces the climber, and tighten and test each hold by hand before you climb.
- Mark your grid lightly in pencil before bolting anything to the wall.
- Start with the largest footholds at the lowest points on the wall.
- Space each new row about one arm span apart from the last.
- Do not set holds above head height until you have checked the landing area.
- Progress from large footholds in week one to small footholds by week three.
Table of Contents
- Planning Your Beginner Footwork Drill Wall
- Setting Climbing Holds for Beginners Step by Step
- Building a Silent Feet Drill Progression You Can Repeat at Home
- Frequently Asked Questions
Planning Your Beginner Footwork Drill Wall
How to set climbing holds for beginner footwork drills starts before you bolt anything to the wall. Plan the layout first so drills stay safer and more useful.
Choose and measure your wall space, deciding how much room you can give up. A small apartment wall works if the layout stays compact.
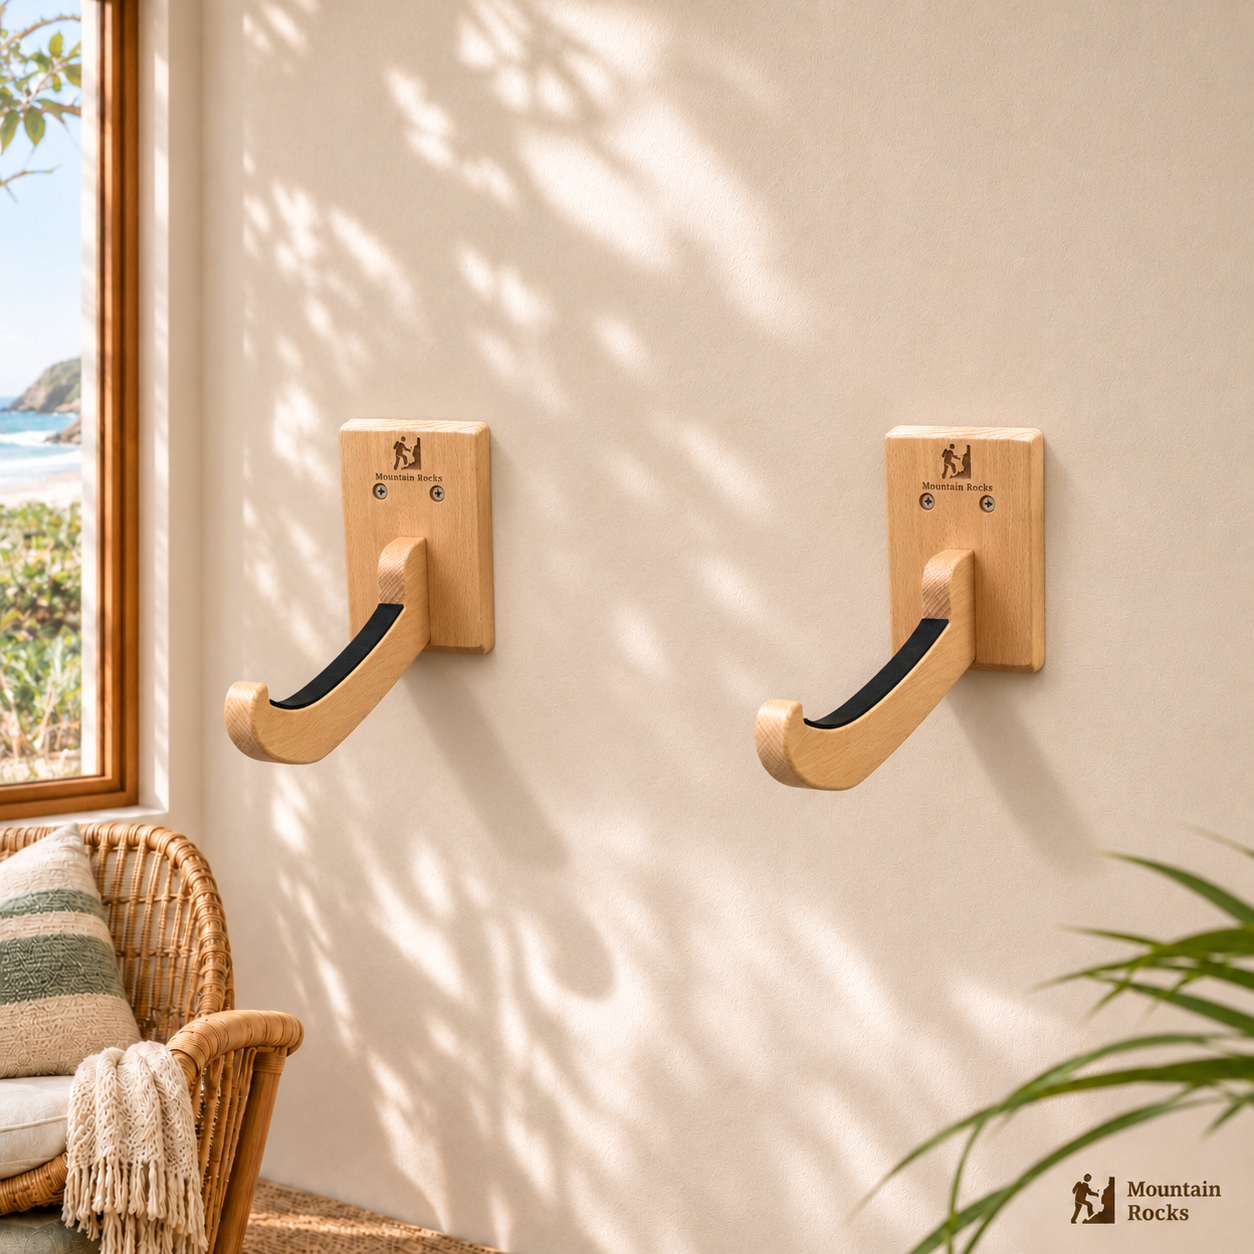
Decide what you want to train. Footwork drills need a range of footholds, from large and easy to small and awkward, so sketch a simple grid on paper. If you want to keep boards tidy around your training space, a wall-mounted surfboard rack can free up floor room.
Watch out: Do not set holds above head height on a home wall until you have checked the landing area and fall zone.
Setting Climbing Holds for Beginners Step by Step
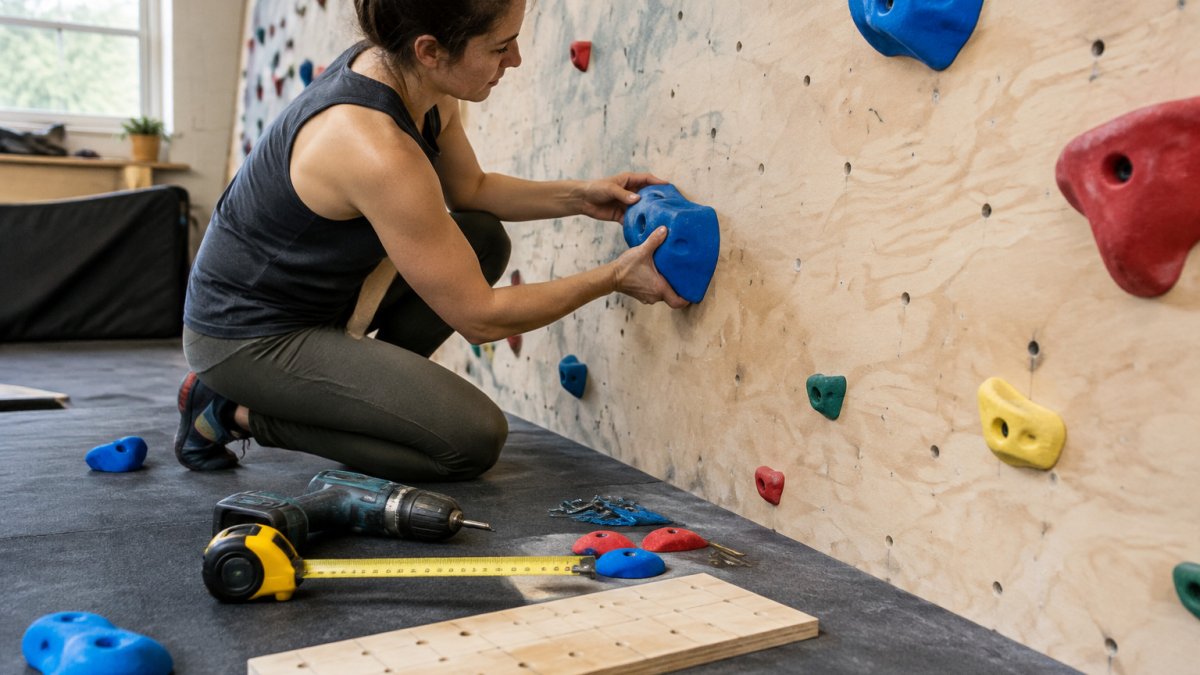
Once your plan is ready, setting climbing holds for beginners means following each step in order, working from the bottom up and checking every hold before moving on.
- Mark your grid lightly in pencil.
- Start with the largest footholds at the lowest points.
- Space the next row about one arm span apart.
- Angle each foothold so the flat surface faces the climber.
- Tighten every bolt and test each hold by hand.
Spacing matters more than most people expect: keep footholds close enough to reach without stretching, but far enough apart that every move asks for a clear foot placement. Before choosing your set, see which indoor climbing holds are worth buying.
Tighten all hardware with the correct tool, then give each hold a firm pull and a twist. Any movement means the bolt needs more tension or a replacement.
!Climber placing a foothold on a home climbing wall
The steps below summarise the hold-setting process from the article, in order.
| Step | What to do | Timing or spacing |
|---|---|---|
| 1 | Mark your grid lightly in pencil | Before any bolts |
| 2 | Start with the largest footholds at the lowest points | Lowest points first |
| 3 | Space the next row about one arm span apart | About one arm span |
| 4 | Angle each foothold so the flat surface faces the climber | Angle toward climber |
| 5 | Tighten every bolt and test each hold by hand | Check each hold |
Building a Silent Feet Drill Progression You Can Repeat at Home
A good progression helps you build quiet, controlled footwork over time. Start with large footholds and move to smaller ones only when your placements feel precise.
- Week 1: Large footholds, slow and deliberate steps
- Week 2: Mix in medium footholds and practise pivoting
- Week 3: Add small footholds and focus on toe precision
Look at each foothold before you place your foot. This simple habit trains accuracy and keeps your movement quiet. A climbing mug makes a good reward for finishing a session. Use the inside and outside edges of your shoes, and check your balance by pausing briefly after each step.
Log your sessions with a simple tally of clean placements. Progress shows up as more clean placements over the same drill.
Frequently Asked Questions
What climbing holds are best for practising footwork?
For beginners, start with larger footholds and flat or gently sloping edges that let you see and feel where your toe lands. Mix a few jug-style footholds with small edges once you can hold position. Avoid tiny crimps or sloper-only footholds until your placement is consistent. Keeping the hold types simple makes it easier to judge whether a foot is quiet and accurate. Repeat the same layout across sessions so you can track improvement.
How far apart should holds be on a beginner climbing wall?
A practical starting point is to space footholds roughly one leg length apart vertically and about 30 to 50 centimetres apart horizontally, so each move asks for a clear, controlled step rather than a stretch. Keep the first few drills on a moderate wall angle, such as near vertical or slightly overhanging, and adjust spacing as your balance improves. Check the spacing by climbing the drill yourself before a partner or child uses it. Small changes in distance make a noticeable difference in difficulty.
How can beginners practise silent feet on a climbing wall?
Start with a slow drill: stand on a single foothold, place your foot without any scrape or squeak, hold for three seconds, then step to the next foothold. Focus on looking at the hold before your toe touches it and on keeping your hips close to the wall. Use the inside and outside edges of your shoe and practise pivoting your foot without shifting your weight. Build up speed only after placements are consistently quiet. Session length of 10 to 15 minutes, two or three times a week, is a sensible starting point.
